.gif)
Description
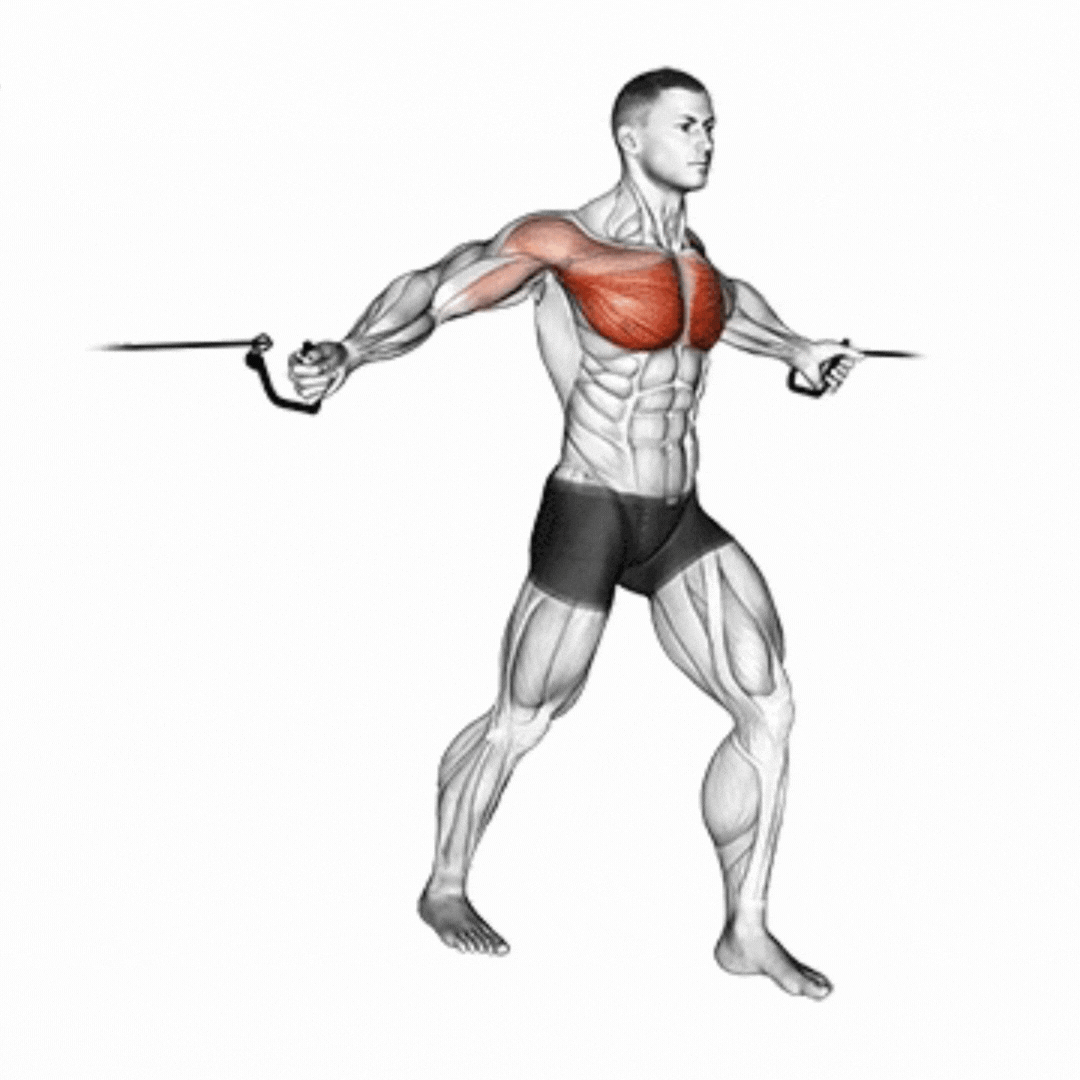
The Incline Push Up is an easier variation of the classic push-up, performed by placing your hands on an elevated surface (wall, table, bench). The higher the surface, the easier the movement becomes, making it ideal for beginners. Thanks to the body angle, it intensely activates the lower chest muscles. It targets the lower fibers of the pectoralis major, the triceps, and the anterior deltoids. It serves as an excellent stepping stone for gradual progression for beginner athletes who cannot yet perform a standard push-up. It also places minimal stress on the shoulders and wrists. It is highly practical for home workouts as it requires no equipment. When performed regularly, it provides significant improvements in upper body strength, chest development, and standard push-up performance.
Step-by-Step Instructions
- 1
Find a sturdy elevated surface (bench, table, step, or wall).
- 2
Place your hands shoulder-width apart on the surface.
- 3
Step your feet back and assume a plank position.
- 4
Keep your body in a straight line from head to heels.
- 5
Engage your core muscles; do not let your lower back sag.
- 6
Bend your elbows to lower your chest toward the surface in a controlled manner.
- 7
Lower yourself until your chest almost touches the surface, keeping your elbows flared at a 45-degree angle.
- 8
Push back up by squeezing your chest and triceps.
- 9
Fully extend your arms at the top position, but do not lock out your elbows.
Key Points
- ✓The higher the surface, the easier the movement.
- ✓Your body must form a straight line from head to heels.
- ✓Hands should be shoulder-width apart.
- ✓Keep your core engaged at all times.
- ✓Elbows should be tucked at a 45-degree angle.
Common Mistakes
- ✗Letting the hips sag - indicates poor core control.
- ✗Piking the hips up - breaks the movement form.
- ✗Inadequate range of motion - prevents full muscle activation.
- ✗Flaring the elbows out completely - puts excessive strain on the shoulders.
- ✗Performing the movement too fast - results in a loss of control.
Breathing
Inhale as you lower your body, exhale as you push back up.
Muscle Activation
Safety
Precautions
- Individuals with acute wrist injuries should exercise caution.
- Individuals with acute shoulder injuries must pay strict attention to form.
Safety Tips
- Use a sturdy surface; avoid slippery or unstable objects.
- Start with a higher surface first and gradually lower it.
- Stop the exercise if your form breaks down.
- Warm up your wrists before starting.
Frequently Asked Questions
Which muscles does Incline Push Up work?
Incline Push Up primarily works these muscles: Alt Göğüs. It also engages: Triceps, Ön Omuz, Core kasları.
Is Incline Push Up suitable for beginners?
Incline Push Up is a Beginner level exercise. Learning difficulty: Easy.
Can Incline Push Up be done at home?
Yes, Incline Push Up can easily be done at home.
What are common mistakes when doing Incline Push Up?
One of the most common mistakes: Letting the hips sag - indicates poor core control.
How many sets and reps for Incline Push Up?
Recommended: 3-4 sets and 10-20 reps.

Exercise Information
Equipment
Primary Muscles
Secondary Muscles
Benefits
- ✓Targets the lower chest muscles.
- ✓Ideal preparation for standard push-ups.
- ✓Practical and accessible for beginners.
- ✓Requires no equipment.
- ✓Joint-friendly nature makes it suitable for rehabilitation.